One of the nightmares of a woodworker is having to work with a rusty and poor saw blade. We can completely understand your frustration with using a blunt table saw blade. It provides a pathetic performance, and it also ruins your woodwork. When the blade on the saw becomes dull and starts to wear down, this is the sign of sharpening the blade urgently.
A poor table saw affects the accuracy and precision of your work. In addition, it is dangerous and stressful to work with too. It is best to resharpen your blade often. This is the safest option when working with wood on a daily basis. Moreover, this also enhances the longevity of the blade.
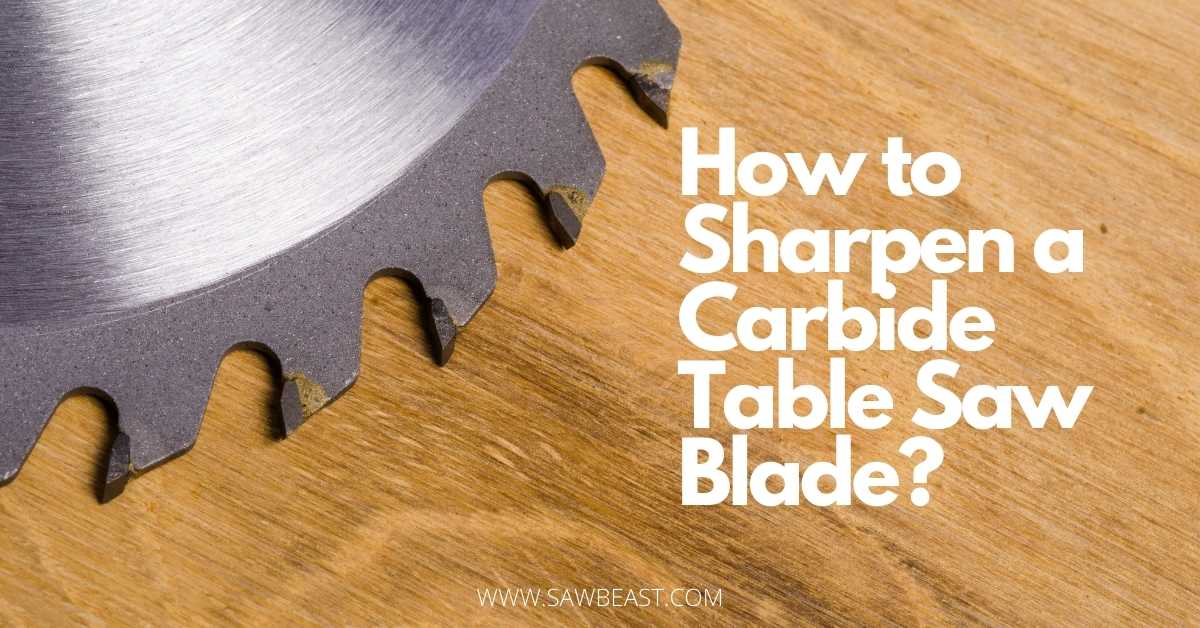
This article has catered to the most pinching question: how to sharpen a carbide table saw blade? Other than that, the article will provide you with enough information to decide whether to resharpen your blade or replace it. We have also included a small section to prevent your blade from getting blunt quickly. Stay hooked towards the end of the article to grasp all the concepts related to sharpening your carbide table saw blade.
When Does Your Carbide Table Saw Blade Require Sharpening?
So, how do we get to know that your blade requires resharpening? Well, several signs hint at the resharpening of the blade. Here is a list of the signs:
- The blade has uneven, worn-out edges that make poor cuts with zero accuracies and precision.
- You can smell the wood burn while cutting through it.
- A poor blade causes chipping, grain shatters, and blowout.
- A blunt blade can lead to material wastage, and you might end up spending extra time in your workshop.
- Your once favorite table saw is now creating hazardous working conditions for you.
- The blade wobbles when making cuts, which creates a poor piece of woodwork.
- You experience resistance in making cuts, and the blade cuts slower than before.
- The blade has a missing or chipped tooth.
- You can see material buildup on the blade, for instance, a heavy pitch buildup.
- The blade produces a sharp and shrill noise when it comes in contact with any material.
- The load on the motor increases.
If you experience some or any of these signs, consider sharpening the table saw blade at your earliest. A good quality carbide table saw blade can be resharpened at least 3 to 4 times before it requires replacement. When you get your blade resharpened, it works better, is longer, and provides you with precise quality cuts.
How To Sharpen a Carbide Table Saw Blade?
Sharpening a carbide table saw blade might sound easy, but it is a highly complicated process that requires patience, experience, and precision. This is not an easy task; it requires professional skills and expertise. It would be best to learn how to sharpen your blade accurately; otherwise, it can lead to chaos.
Improper sharpening of the blade, even if the teeth of the blades are off by 1/1000 inches, can completely ruin your cut. This is because the cutting characteristics of the blade get altered, which leads to uneven and poor cuts. Hence, it is essential to properly learn the skill of sharpening the blade and then work on it rather than trying out a random experiment with zero skills.
If you still plan to experiment and sharpen the blade by yourself, here are a few steps that you need to follow.
Step 1
The first and foremost step is to take all the safety precautions before sharpening your carbide table saw blade to avoid any injury or harm. Get yourself a pair of safety goggles. These will prevent any material particle from entering your eye.
In addition, get a pair of gloves to protect your hands from any cuts or bruises. Safety earplugs might be your best option on the safety precautions list because this will prevent ear damage due to the loud process noise. Adding on, a dusk mask respirator can protect the inhalations of any small material particles in the air.
Other than that, choose a flat working surface, detach the blade from the table saw, and move the blade there. Remove your saw’s cord and turn off the electrical outlet’s switch to prevent any chances of electrical shocks. Also, you might want to put a tarp on the floor before starting the process because it would get quite messy.
Step 2
Carefully release the blade from the saw using the release switch on your table saw. If you do not have a release switch, you would need to get a wrench and loosen the arbor nut manually to release the blade.
Replace the blade with a diamond blade that you will require for the sharpening process. Hold the diamond blade tightly in place using the blade switch or the nuts.
Tip: Take care when you are tightening the nut. A loose nut might not help keep the blade in place, while a tight nut can bend the blade in the process.
Step 3
Start sharpening every tooth of the blade. You might want to mark the starting position to keep an easy track of the teeth that have been sharpened so far. In addition, if the teeth of the blade are pointing in the same direction, you would only require one pass to sharpen the teeth. On the other hand, if the teeth of the blades are pointing in two directions, you would need two passes for them.
To sharpen the teeth:
- Switch the diamond blade on.
- Bring your carbide table saw blade near the rotating diamond blade and touch against it. The rotating diamond blade will sharpen the edges of the blade.
- Repeat this process for all the edges of your carbide table saw blade. The end result would be a sharpened blade.
As mentioned, you need to be extremely cautious and precise in this process. Uneven sharpening of the edges of the blades can completely ruin your woodwork.
Step 4
When you are done with the process, remove the diamond blade and clean it before putting it away. Put your carbide table saw blade back in its position and check whether it performs well or not. For this purpose, cut through any material and analyze the cuts. If your woodwork turns out to be accurate and precise, you have succeeded in sharpening the blade. However, if there is resistance in cutting the material or you still find uneven cuts, you might need to sharpen the blade again.
Conclusion
We hope the article was easy for you to understand, and it helped you in the blade sharpening process. If you still have any queries, feel free to leave a message and we will get back to you on it. A visual representation of the blade sharpening process might help you better with the process. Hence, we recommend you research a little more and watch some videos before trying out the sharpening process.
We wish you good luck with the process!