People who use table saws occasionally, or those who do not take care of their table saws after tons of work, end up with a rusty, corroded, or oxidized table saw top. Such table saws increase the complexity of your work. The wood is unable to slide through the corroded aluminum saw well. This eventually affects the accuracy of the work and also makes it dangerous, with the probability of a kickback. Hence, maintaining your table saws is essential to ensure accurate and precise work.
This article is a quick guide to help you understand the importance of maintaining a clean tabletop. To help you get started with the maintenance process, we have included a dedicated and detailed section explaining every step in detail.
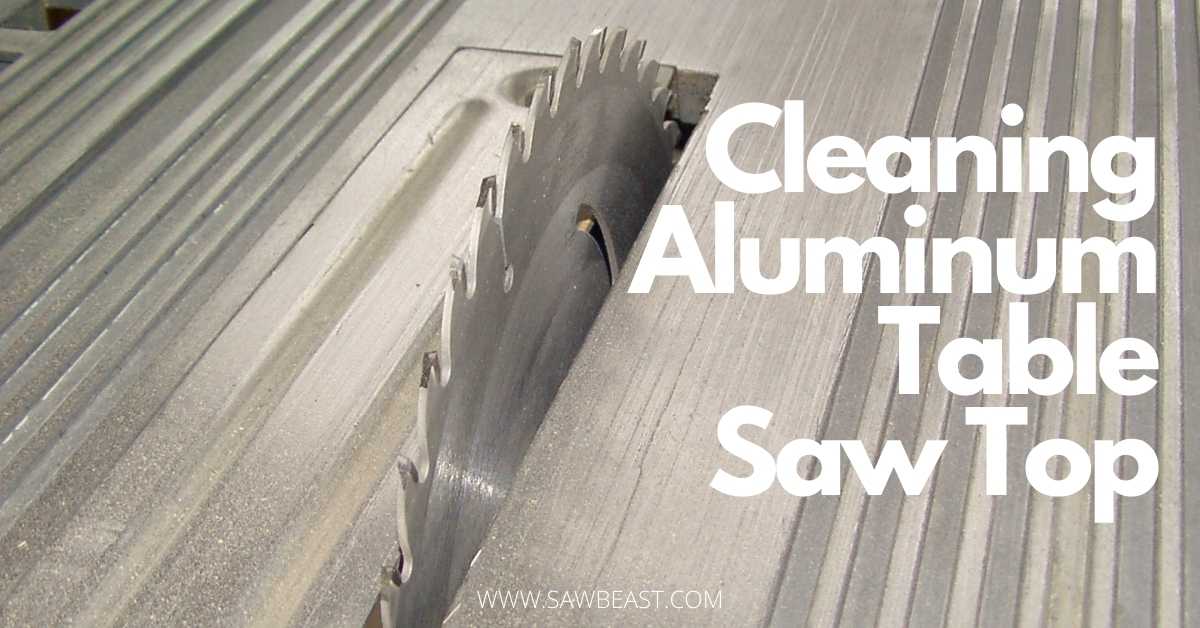
Table Saw Material
Table saws are generally made from cast iron or cast aluminum. Both of these materials look similar but are quite different from each other. Each of them requires a different cleaning procedure. We will only discuss how to clean an aluminum table saw top in this article.
Tip: To check whether your table saw is made from cast iron or cast aluminum, you can perform a simple test. Get a magnet and place it on your table saw. Cast iron would attract the magnet and keep it in place. On the other hand, aluminum would not attract the magnet and it would stay loose, which you can quickly figure out.
Why Should You Get Your Aluminum Table Saw Top Cleaned?
When using a table saw without any climate control in the surroundings, the temperature change can severely affect it. Humid climates with moisture content in the air can significantly impact the corrosion of your table saw. Moisture condenses on the top of the table saw.
In addition, rust, resins, dirt, and other filth can accumulate at the top of your table saw, which can affect the working of the saw. Hence, it is essential to clean it at least once a month to avoid any kind of damage to the table saw or the woodwork.
Aluminum table saws do not experience rust, but they get corroded away, affecting the lifespan of the table saw. The wood does not slide well on a corroded table saw. This puts your work and safety at risk. Accuracy is severely impacted. Hence, it is essential to get your table saw top cleaned often.
Cleaning Aluminum Table Saw Top
Now that we are well aware of the importance of cleaning your table saw, we need to look into the cleaning process to get started with it immediately. We will be following three main steps:
- Aluminum polish.
- Cleaning the loose dirt.
- Greasing the surface
Tip 1:
If you feel raised aluminum parts or encounter an uneven tabletop surface, the first thing that you should do is to level the table saw. You can smoothen the small aluminum parts by burnishing, filing, and sanding. This process, however, would be abrasive for your tabletop, but it will provide you with an even surface to work with.
Aluminum Polish
The first step in cleaning your table saw is using an aluminum polish. Grab any of your favorite aluminum polish and apply an even layer of it to the surface of your table saw. Use a soft cloth to rub the polish over the table saw’s top. This will eventually loosen the dirt accumulated and form a slurry layer on the top.
To avoid the manual labor of rubbing the cloth against the tabletop, you can use a sander. Attach the soft cloth to the sanding pad of your sander and gently rub it across the tabletop. A few minutes into the process are enough to provide you with the results – loosening up the accumulated dirt.
Tip 2:
Many people use mineral spirits to lubricate the surface and then use sandpaper to loosen the dirt on the top of the table saw. This is not recommended for an aluminum table saw because aluminum is softer than cast iron. If your table saw is made from cast iron, sanding is the best option to clean it. A 320-grit or 400-grit sandpaper is good enough to do the job.
For a cast iron table, use WD40 to lubricate the table saw’s top. Then use sandpaper to scrub the dirt off. Follow the rest of the steps as mentioned below.
Cleaning The Loose Dirt
After rubbing the cloth across the top of the table, you would notice a slurry layer. Remove the slurry with thinner or benzene. Make sure you get rid of the slurry completely. This process would eventually leave your aluminum table saw rough and ungreased. It would make the appearance dull. To protect your table saw, follow the last step to grease it.
Grease The Top Surface of Your Aluminum Table Saw
The last step of the maintenance process is to grease the top of your table saw. This is one of the most essential steps in the cleaning process for most people. Greasing your tabletop adds shine to its appearance and protects the table saw. It enhances the saw’s longevity and helps in easy sliding the wood through the saw. Hence, the accuracy and precision of your work are not disturbed. Moreover, you also remain secure from any kickbacks while working.
Greasing or polishing your table saw makes it easier to work with, and it protects the table saw for a longer period of time. To polish, the surface of your table saw, grab a small amount of wax and evenly apply its layer on the top. A big amount of grease on the top can attract dirt again, while a small amount would not be able to do the required job.
Some people like to do a final polish with WD40. Apply a small amount of WD40 on a typing paper and wrap it around your table saw. Aluminum is soft enough that the typing paper can easily do the job of a smooth, final polish.
Tip 3:
Avoid automotive waxes which have silicone in them. Silicone is not the best ingredient that you would want to use to protect your table saw. It has numerous cons attached to it; one of them is that such waxes make repainting difficult.
Conclusion
We hope the article helped you with all the questions you had in your mind. Do not forget to clean your table with the maintenance process described regularly. This will increase the longevity of your table saw. In addition, it will also help you work precisely and accurately with the wood.